There are couple of ways to enable / disable remote access and the settings are pretty much similar across different windows server version and edition.
Alternative 1 : Execute command in command prompt.
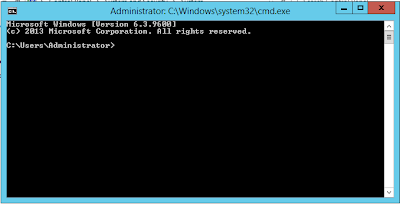
1) In your Hyper-V Server, open up a command prompt. Up to you to use the run command or navigate to the command prompt location to open up the command prompt.

2) To enable, type "C:\Windows\System32\scregedit.wsf /ar 0" without double quote and click enter. If your installed windows is not in C drive, just change C to the drive letter that contain your installed windows.

3) To disable, just change 0 to 1 "C:\Windows\System32\scregedit.wsf /ar 1" without double quote and click enter. If your installed windows is not in C drive, just change C to the drive letter that contain your installed windows.
For more detail can be found here http://technet.microsoft.com/en-us/library/jj647785.aspx
Alternative 2 : Using Graphical User Interface.
1) In your Hyper-V Server, navigate to your System window. It can be located from
This PC > System Properties, or
Control Panel > System, or
any other possible way which is more convenient for you.

2) Click Advance system settings located at left panel in your System window. System Properties window will appear.

3) Click on Remote Tab. Under Remote Desktop, to enable remote access, select "Allow remote connections to this computer", leave the default check box checked and click OK button. If you want to define which user are allowed to remote access, you can define it at the Select Users... button.
4) To disable remote access, select "Don't allow remote connections to this computer" and click OK button.
That's all for the configuration part and now you can try remote access to your Hyper-V Server.
1) From your server that hosted the Hyper-V Server, open up the remote desktop connection window.

2) Fill in your Hyper-V Server's computer name and click connect.

3) Fill up the necessary credentials and click OK button. You will then successfully access to your Hyper-V Server with remote access.
No comments:
Post a Comment